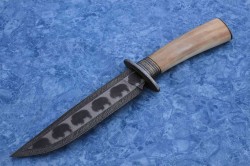
Lightning Strike Bowie
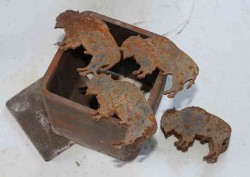
- Waterjet cut buffalo and tube
The Buffalo where waterjet cut from High carbon steel and stacked inside a 4″ piece of 1/4″ wall square tube, Nickel powder was them poured into the tube and caps where welded on the ends.
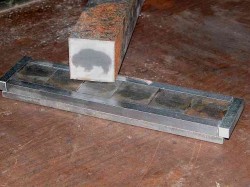
1 1/2" square buffalo mosaicThe tube was welded in the forge with great care not to distort the image inside. The square in this photo is aproximatly 1 1/2" square down from the 4" original size. Tiles where cut and incased in a frame work that was arc welded all the way around so no oxygen could get in. The piece was them dry welded but only hit from the ends to weld the tiles to each other. The incasing frame was then cut away from the tiles. A successful weld and the frame is cut away from the tiles.Center core and wrap pieces
The tiles where ground to the shape that I wanted the bowie to be. I then forged a w’s twist to 3/8″ that will become the wrap around the buffalo. The top will represent lightning and the bottom prairie grass.
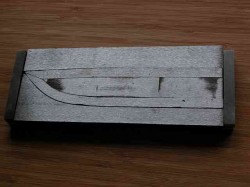
Ready to weldThe wrap pieces where formed around the shape of the buffalo tiles and everything was surface ground and incased in another frame.Installing cover
The cover was installed, then arc welded all the way around. Note the bolt threaded into the cover. This was removed and the billet was soaked in diesel, then the bolt was put back in before putting it into the forge for dry welding.
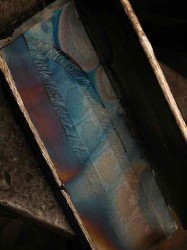
- Successful weld
This is how it looks after welding. Nice and clean and perfect welds. Though it is alot of work I think it gives a super strong weld. The frame had to be band sawed away from the blade and ground to shape.
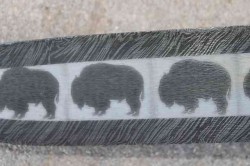
- Finished blade
A closeup of the finished blade after welding. It was cleaned up a little and a light etch was applied.
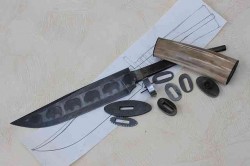
- Many pieces of the Bowie
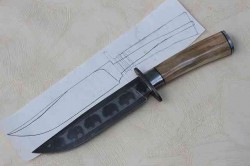
I miss a lot of steps here but this is the pieces that will make up the Lightning Strike Bowie. All w’s twist damascus fitting, some gold anodized titanium spacers and a Walrus ivory handle.
- Assembled and roughed in
Here it is assembled, the blade needs etched and the ferrals need fileworked and etched. I will be finishing it up in the next couple day and will post a photo of the completed Bowie. I will be taking it to the ABS show in San Antonio TX in a couple week.
I would love to hear anyones comments on the bowie and the proccess. Also if you have any questions about how to or construction please comment on the Blog. Thanks for stopping by

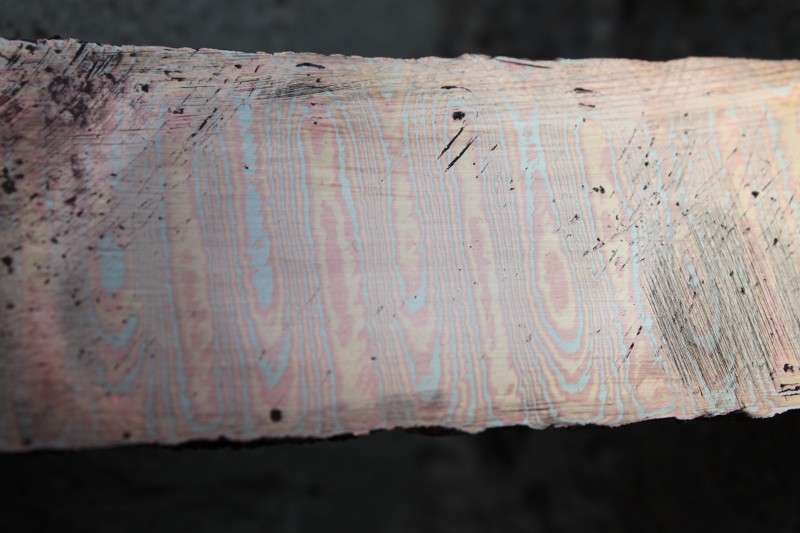
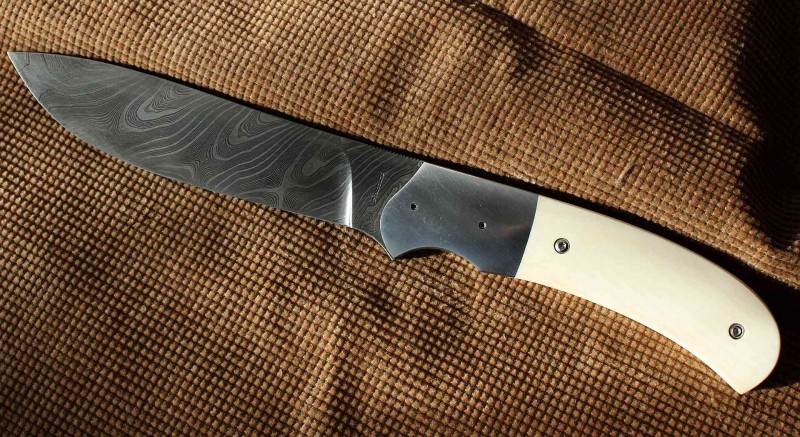
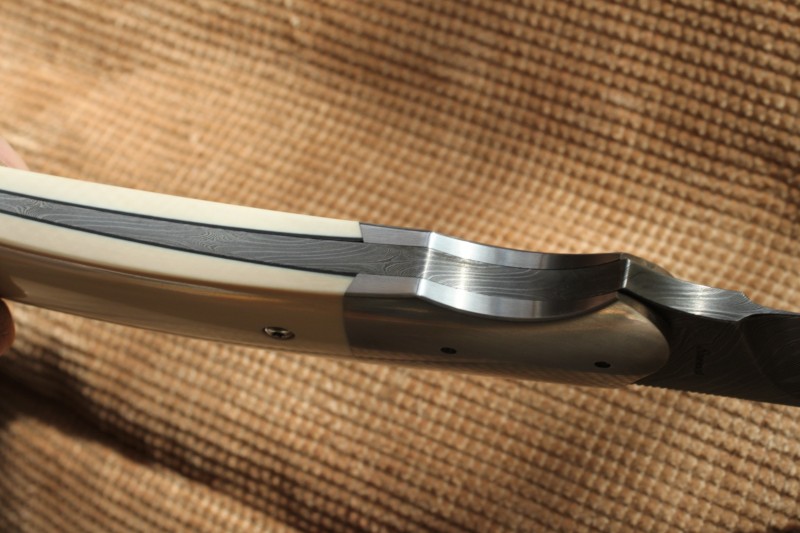
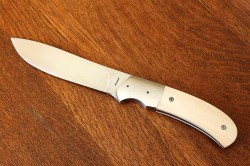
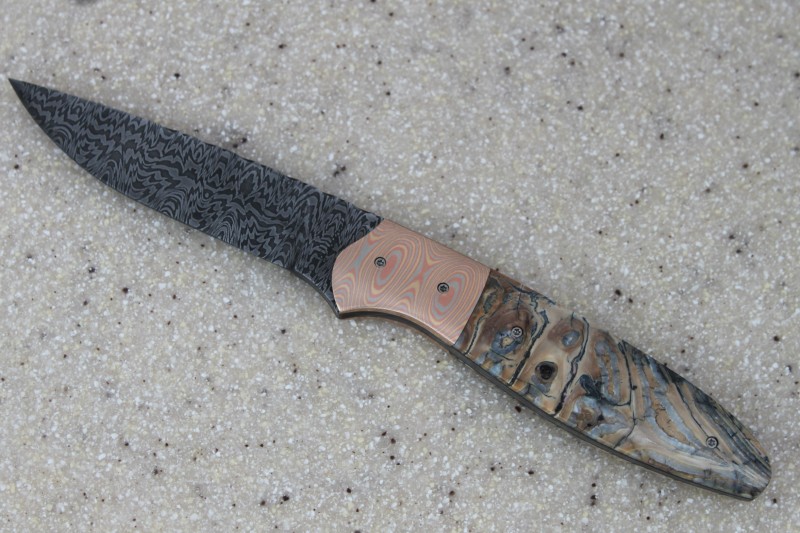 This is a small fixed blade design that I call “Toad”. I just finished it using the Mokume Gane that I made at the ABANA conference in Rapid City. I used 40 layers of Copper, 20 layers of nickle silver, and 20 layers of Red brass. The copper was put between every layer of the brass and nickel silver. I think it turned out very striking. I ran it through a ladder pattern die to bring the layers to the surface. The blade is what I call Teton damascus or a laddered W’s pattern. The handle is Mammoth tooth and it is all put together with 0-80 tork head screws so I could finish the knife then take it apart and etch the hole knife so the damascus shows around the handle. It also has dovetailed bolsters and a tapered tang. Any questions or comments let me know.
