Archive for the ‘Forge construction’ Category

Forge Construction Part 3

Tuesday, June 5th, 2012
Silicone around seams

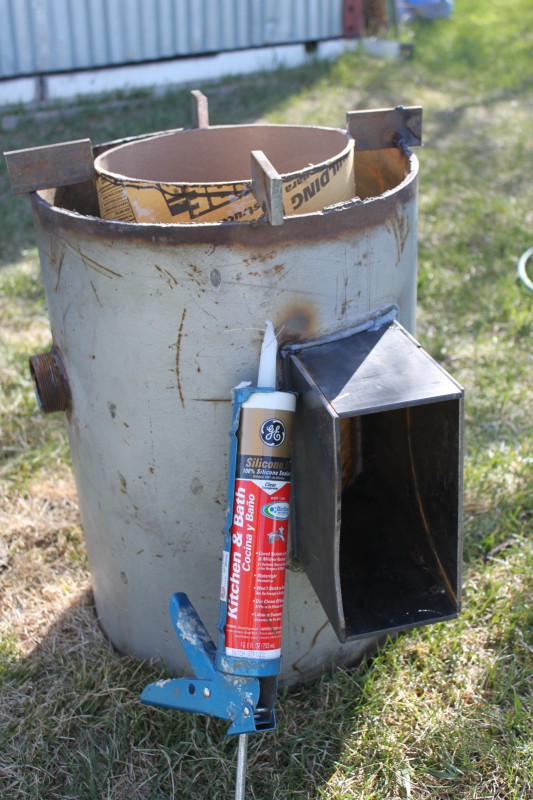
Silicone around seams You have to seal around all the cracks or the water from the refractory will run out
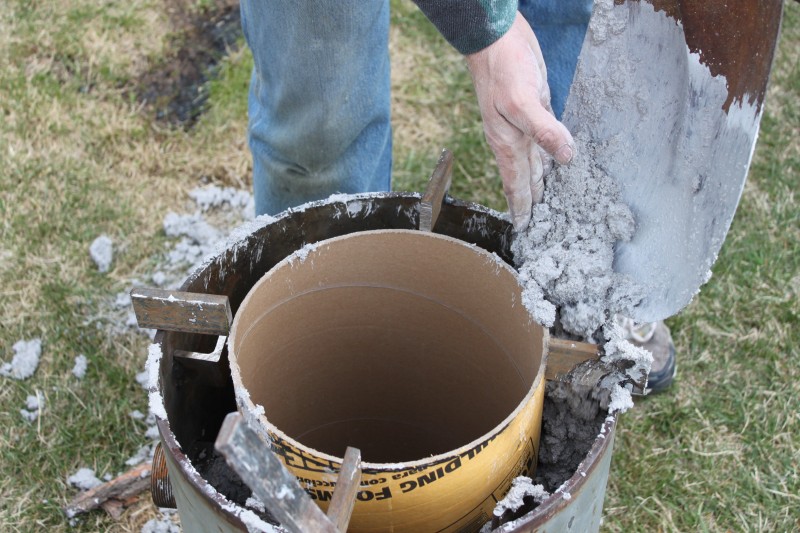
Fill with refractory

Fill with refractory It was a little tricky getting the refractory around the tube but I put it in slowly and used a a piece of strap to tamp it down and make sure I filled all the voids, particularly around where the burner goes.
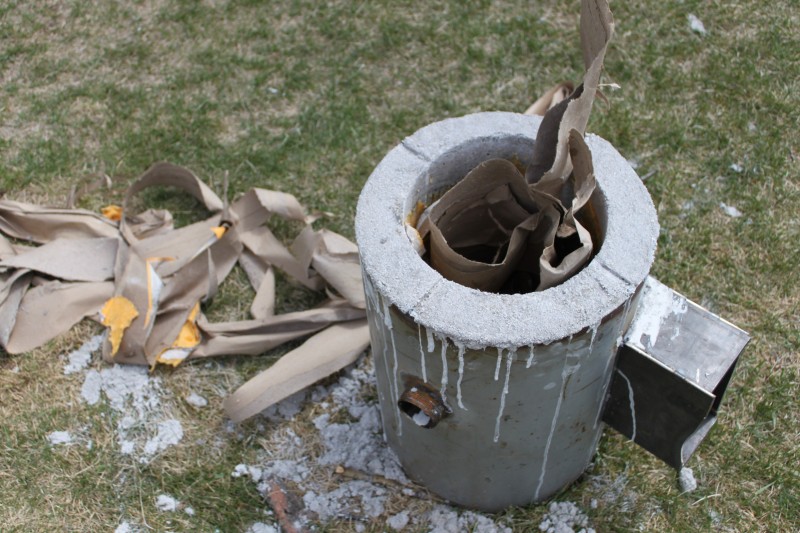
Pull out tube

Pull out tube After it dried it was easy to pull the tube out. It had soaked up water from the refractory so it peeled right out.
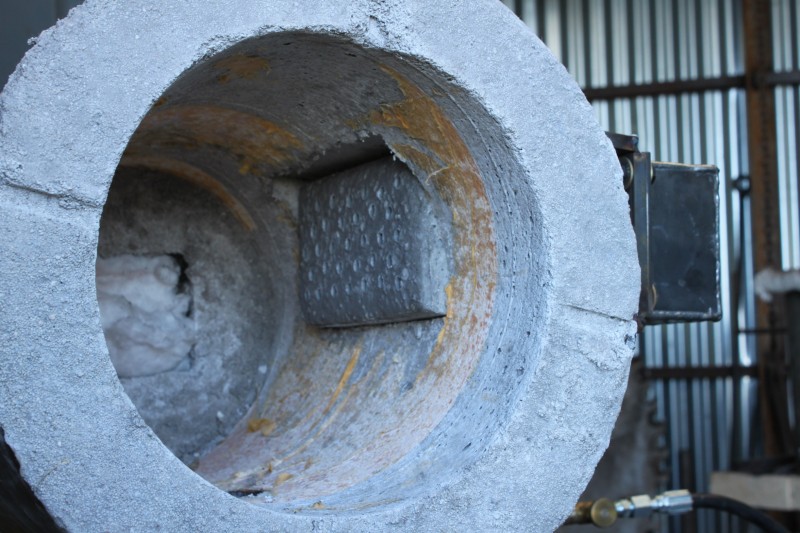
Finished Almost

Finished Almost The ribbon burner is mounted. I pulled the mock up piece of steel out and inserted the burner. Fits like a glove.
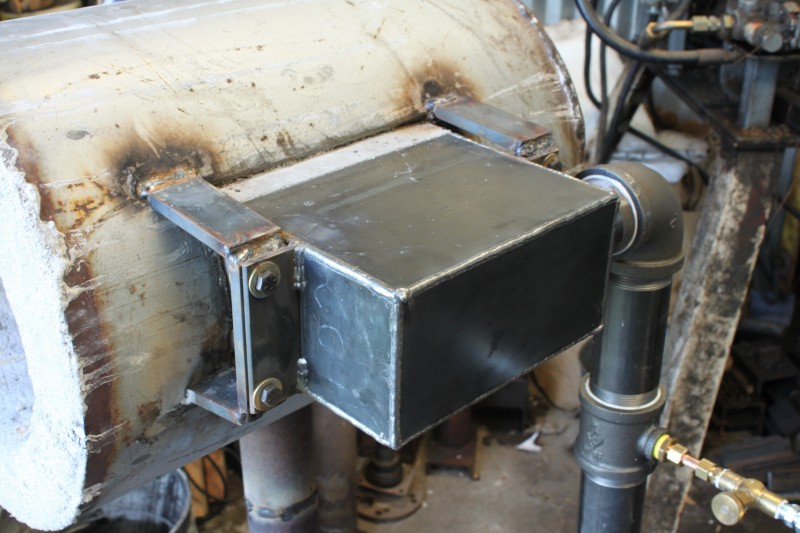
mounting ribbon burner

Mounting ribbon burner I positioned the burner where I wanted it and make and welded in brackets to hold it.
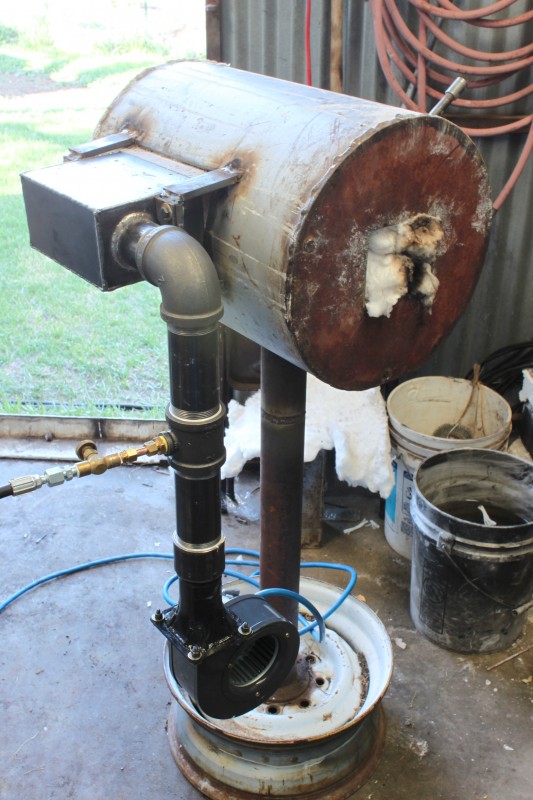
Air and propane plumbed

Air and propane plumbed. The blower is installed along with the propane nozzel. I got them from Pine Ridge burners along with the burner.
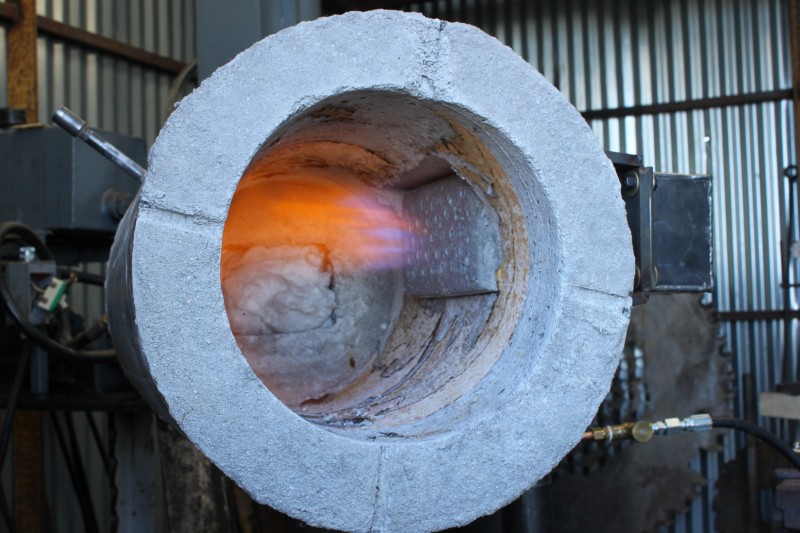
Fire it up   IT WORKS

Fire it up IT WORKS. There is a lot of moisture in the refractory so be careful when you fire it the first few times. The small tube on the top left side of the forge is to put a digital probe into. I fired it to 800 F the first time and the water ran out of it every where. Then I went to 1200 and finally to 1800 F and it was good to go. If anyone has any questions about the build you can comment on the blog or email or phone me.

Building Forge Part Two

Friday, May 25th, 2012
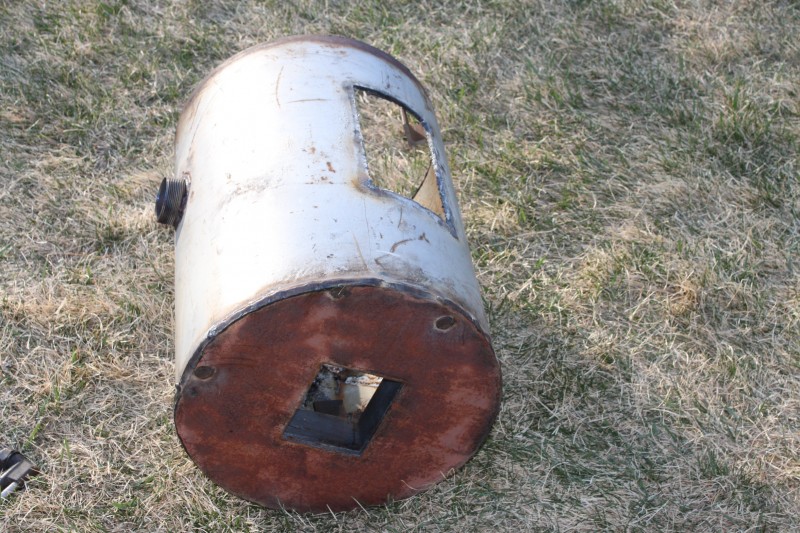
Back wall with Window
Here is the forge with the back welded in.  The hole is to pass long pieces through when forging.  There will be a cover over it to keep the heat in when not in use.  The pipe nipple on the bottom will have a cap that can be removed to drain the liquid flux out when it builds up.  The large hole in the side will be for the burner.
Forge with Insert
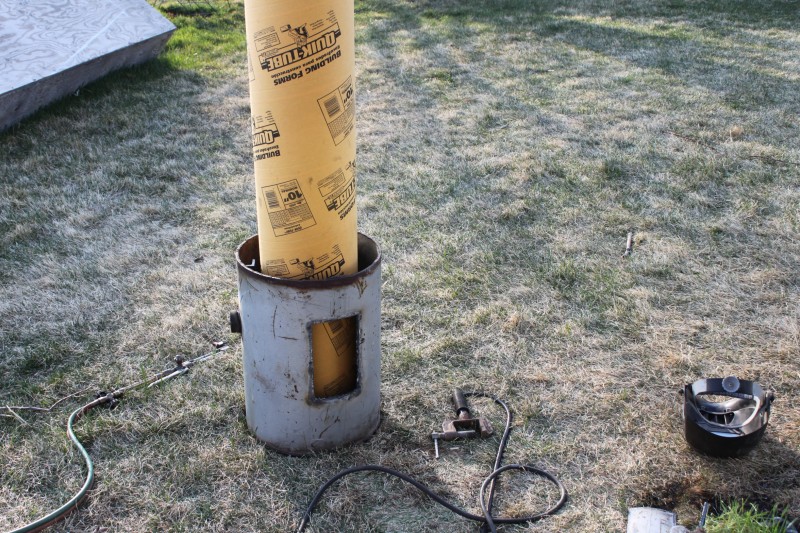
This photo shows the quick tube that will form the center of the forge.  It is made of cardboard so will be easy to remove.  It is 10 inch in diameter.

Forge with tube installed

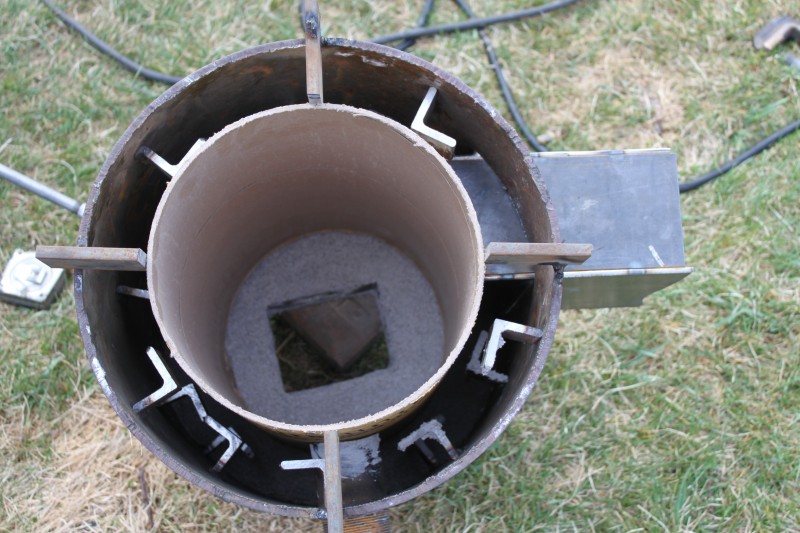
Forge with tube installed. The back wall is already poured with the refractory 2" thick. The Quick tube is cut to length and supports are welded in to keep it centered in the forge

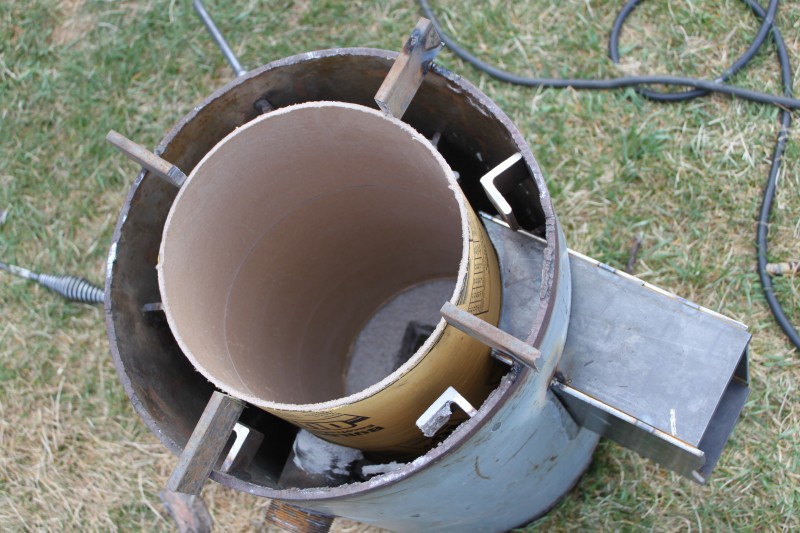
Tube and Mocked up burner

Tube and Mocked up burner. The piece on the right is a mocked up piece the same size as the burner. It is trimmed to fit the radius of the tube so the refractory won't run out. When the refractory is dry this piece will be removed and leave a hole just right for the ribbon burner

Sunday, May 13th, 2012
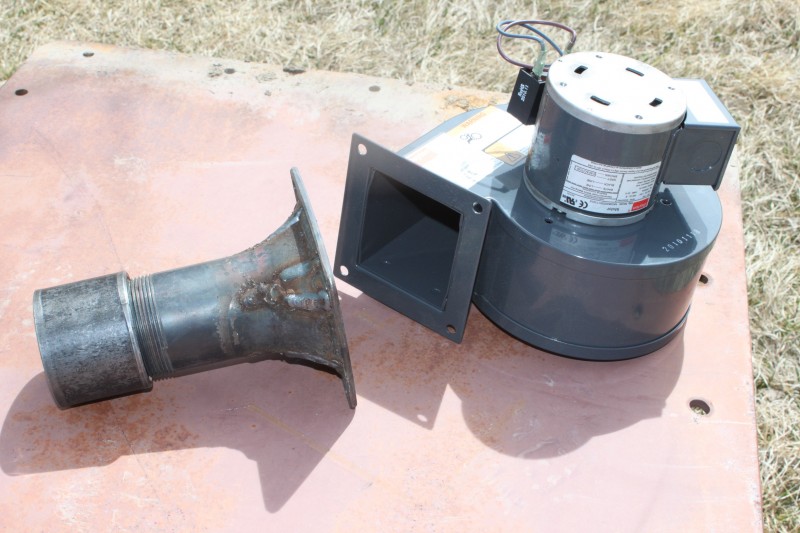
Blower and air adapter

Blower and air adapter

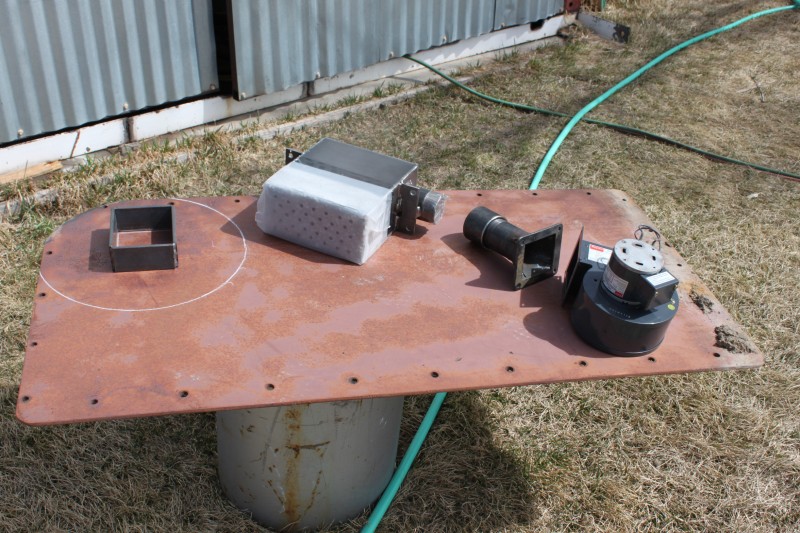
I am building a new forge and will be showing the parts and pieces that will be going into it.  I was given information on a new to the knifemakers kind of burner system.  It is called a Ribbon Burner and I think it is used in the glass blowing industry.  It is supposed to get very hot with less propane usage.  I got this burner from Pine Ridge Ribbon Burners.  The blower pictured above was recommended by them to run the burner I am using.  It also is available on there web site. I built the adapter for it to go from the square opening of the blower to a 2″ pipe.

Ribbon burner

Ribbon burner

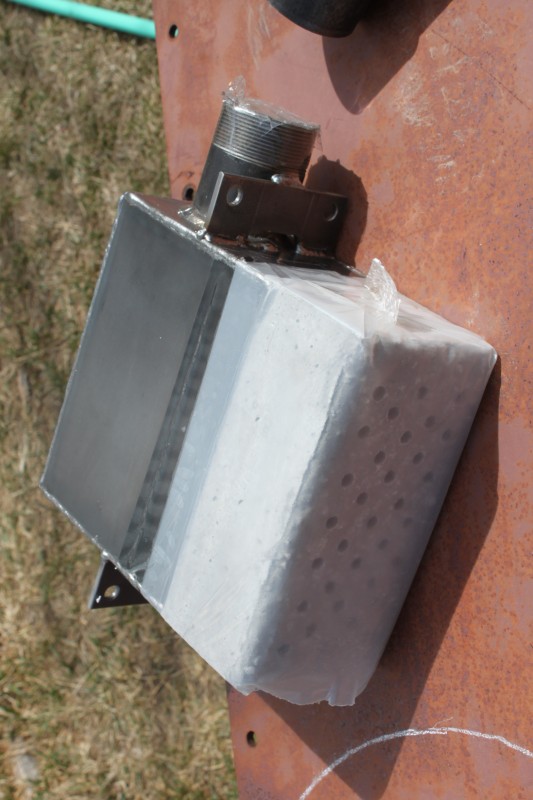
This is a closeup of the ribbon burner.  The air and gas mix in the back portion before coming out the multiple holes in the refractory.  As the forge heats up the refractory heats up also and preheats the air and gas mixer to help it burn better.

All the parts and pieces

All the parts and pieces

This is a shot of all the components layed out. Blower, adapter, and burner.  The 15″ pipe I am using is supporting it and the back plate is layed out on the piece of steel.  There will be a window in the back to run long pieces through the forge.  A 2″ high square is made to go around the hole then the forge will be layed on its back and refractory poured 2″ thick, just up to the top of the window.

Inside of forge before refractory

Inside of forge before refractory

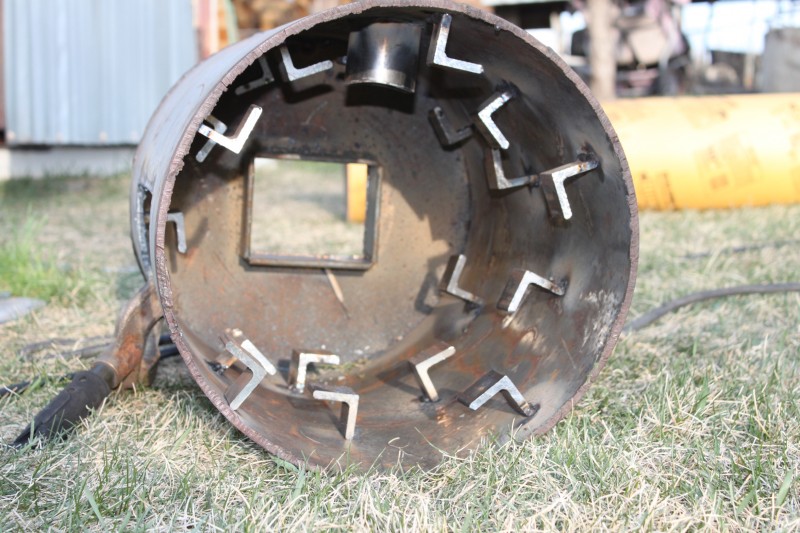
This is the inside of the forge before refractory.  The little pieces of angel iron are 1 1/2″ and have been tacked in to hold the refractory to the sides.  You can also see a pipe extending into the center.  That will be the bottom and it will serve as a clean out when the flux builds up in the bottom of the forge.  I will be posting more photo’s so check back.  If anyone has any questions about the construction feel free to comment